6/28/12

Dungeons and Darkness and 32-Bit Displacement! Oh, my!

This week was both a battle and a huge learning experience for me.  I was unsure as to how I was going to accomplish the high resolution details in this scene.  At first, I decided to go with Mudbox for the high-resolution sculpting so I could do the color and bump maps at the same time.  However, I the performance of Mudbox on my system still leaves me wanting better results.  In addition, the camera controls in Mudbox are kind of screwy and I have had many times where I couldn't find my model to start sculpting.

So I hopped back into ZBrush to do the high resolution sculpting.  This was going to be an interesting challenge because I haven't had that much experience with getting things from ZBrush back to Maya.  Mainly it's been rendering from within ZBrush.  This also meant learning about 32-bit displacement maps and how to set them up properly within a scene.


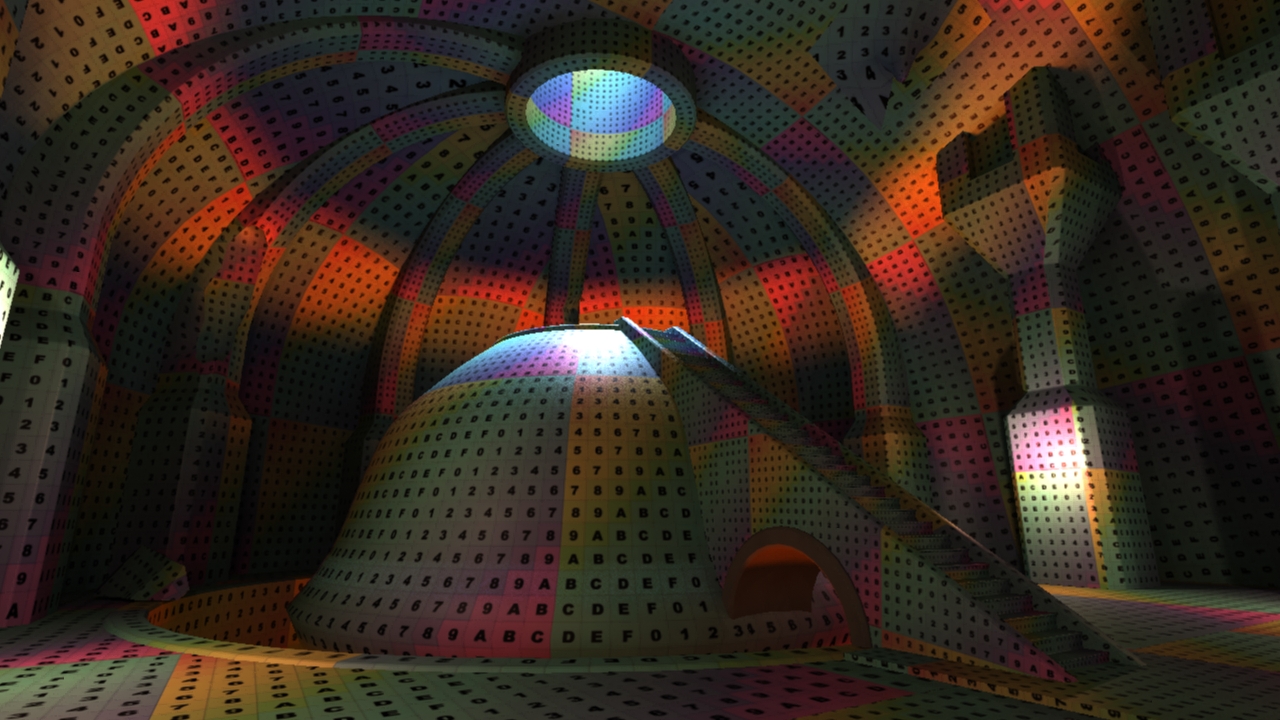
There were lots of iron fixtures and pieces that I put in the chamber and I didn't really feel like I needed to put fine painted detail on them since they weren't going to be the central piece of the scene.  I decided instead to use a set of 3D procedural textures to get the look I was going for.  In this dark scene, I think it will work just fine.


To get the super fine details within the rock and bricks, I had to use a combination of normal maps and displacement maps.  A normal map is typically used for the bump map details on your model, basically as a way to fake tiny details jutting out from your surface.  A displacement map actually pushes or pulls your geometry in or out accordingly, depending on what data is in the image file.  I had a hard time figuring out how to render out 32-bit displacement maps from ZBrush, mainly because of the confusing way in which I was using the Multi-Map Exporter plug-in.  At first my displacement maps were very subtle, then I realized that I was using the wrong subdivision level in ZBrush to calculate the displacement map from. Once I got that straightened out, the rest was a piece of cake.


Mental Ray does render-time subdivision and displacement through a little feature called the approximation editor.  Essentially, when the computer goes to render, it analyzes the displacement map to find where the most "movement" will occur within the model.  It then takes the low-resolution geometry and subdivides it only where it really needs it.


Overall, I am pleased with the way this is turning out.  With just the lighting, normal maps, and displacement maps, things are really starting to stand out.  It will be a bugger to render, and I hope that Maya can handle it all.  This will make a nice addition to my reel.


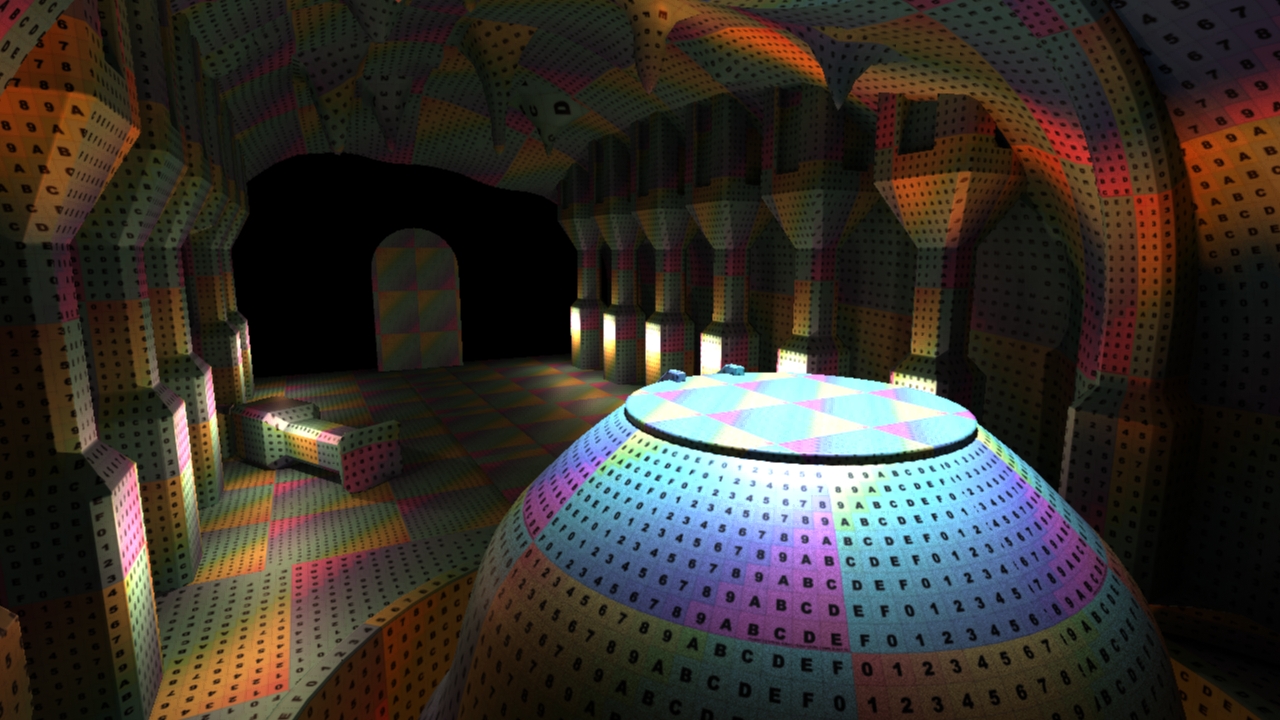
For kicks I rendered out an image with Final Gather turned on.  You can see how the lighting won't be so dark the added bounce diffuse lighting.  There will be some tricky hurdles ahead like adding light fog and some Maya fluids for the torch flames, but I hope I can get it all worked out.  So far, the learning experience has been very valuable.

6/19/12

You know what goes great with barbarians?

DUNGEONS!

I'm taking a break from sculpting on the barbarian to work on another project for my demo reel.  One of my own personal critiques is that I don't have a very organic environment in my reel at all.  I want to be able to do hard surface and environment stuff more than I would like to do characters, so I want to beef up my reel with more of those.

As I was working on the barbarian, I came up with the idea to do a creepy subterranean dungeon throne room.  This would allow me to have some architectural elements to the model as well as having some organic rock features.  Also, I could do some work with lighting and some fluid simulation in Maya when I get the chance.


I started working on this last week or so and have been trying to work smarter while I'm going along.  I have been doing something I don't normally do with this and that is doing UV mapping as I go along.  This is why you see my test checker texture on everything.  I wanted to see how these models will hold up with 4K textures.  I plan on hand texturing everything in Mudbox as well as doing render time subdivision and displacement.


I recently read an awesome tutorial on how to set up multi-UV tile textures and I am excited to try it out.  This will mean lots of trial and error, for sure, but it will also mean (hopefully) a better looking render in the end.  I struggled with trying to get multiple 4K texture maps in my thesis environment, so this should be an extra challenge.


The lighting in this is supposed to be gloomy, but this is essentially how things will be set up.  I have a lot more to add and I think I will be doing some fog around the pedestal area to enhance the dichotomy of the lighting.  It's actually going to be sculpted to look like a giant stalactite and there will be a really creepy looking throne sitting on top of it.  It's also going to have chains coming off the top like they are there to keep it from floating away.  Let's hope that it isn't too hard to work on.  I get bored with textures sometimes.

6/12/12

Barbarian Textured and Posed

I finally got around to doing a bit more with the barbarian sculpt in ZBrush.  The shaders that ZBrush has are very hard to work with and I don't like how it handles light.  They're fine for if you're just doing sculptural stuff, but when you get into trying to simulate subsurface scattering and hair, it loses some integrity.


I did have a chance to work with Fibermesh a bit more and I discovered that the best way to do long hair is to break up your source surface into different polygroups beforehand.  I'll have to try it again when I get a chance, but so far it turned out okay.  I can see some real limitations and I might try to get it into Maya eventually.  However, for now I am fine with this as it is.  Time to render it out and put it in my reel just to show I know organic modeling.

6/4/12

Human Anatomy: Barbarians are great!

I've had the chance to speak with a few individuals about my reel and portfolio and one of the consistent comments I have received is that my characters, while they may be detailed, don't really show that I know anatomy.  One of my first personal projects I decided to embark on was to do another barbarian, but this time in greater detail and fully textured.


I started off using the same human base mesh as before, but made sure it had UV coordinates before I tried anything.  I tried to loosely model the face after Dolph Lundgren.  He's got a pretty warrior-esque face, so I thought he'd do the trick.  The muscles feel nicely defined to me right now.  I'm still debating on whether to do this all in ZBrush or to take it into Maya.  For speed's sake, I might just stick with it in ZBrush so I can do all the hair portions with Fibermesh.

Bradley William Reynolds: Master of Fine Arts in Animation & Visual Effects

In case you are wondering, yes, I finally graduated with my MFA from the Academy of Art University:


Apparently I graduated Cum Laude... who knew?

The fancy leather case

Of course, they're waiting for final grades before they make any conclusions...

On Thursday, May 24th, 2012, we had our commencement ceremonies at the Cow Palace in Daly City.  I officially have my master's degree now, which seems a little strange.  When I finished my BFA, I swore I'd never go to school again.  I was an industrial designer and that's where I was going to say for all of my career... except for the little voice in the back of my head that told me I wanted to do animation/VFX stuff.  Every other industrial design job I looked at made me say to myself, "Yeah I could do that, but I'd probably get bored after a year."  That's when I had to do a lot of introspective thinking and figure out what it really was that I wanted to do.  Nine months later, I was back in school.

Three years later I finally finished.  I've had the question asked of me by others and by myself, "Now what?"  The answer is that I don't really know for sure.  Just like many other industries, the VFX industry isn't flourishing like it once was fifteen years ago.  Things have shifted internationally as well where the quality of work coming from developing countries is getting a lot better.  If you look at the page above with the red circle on it, you'll notice that 75% of the names are Asian.  Like other industries that are really service-based, the U.S. usually loses out.  The biggest key for me will be getting into the right job just to have my foot in the door... but I just don't know which door that will be.

I am both anxious and excited to use my new skills.  I haven't had much positive response from companies that I have been inquiring at, but hopefully things will change.  We shall see where I wind up next.  I keep saying that I had my life planned up until the 25th of May.  After that, my schedule opened right up.

I have some projects on hand to keep myself busy in the mean time.  You'll be seeing some of the progress for some of those as I will keep updating this blog.