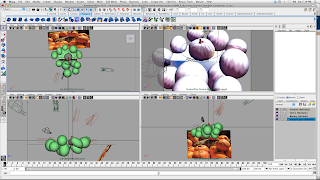
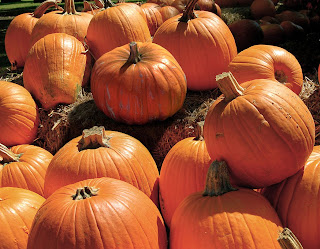
For the past few weeks I have been working on the final stages of my pumpkin. Our purpose for the assignment was to get the textures and lighting to match the other pumpkins in the provided photo. Working in Maya, I created stand-in pumpkin shapes that would roughly match the actual pumpkins in the photos. After those were developed, I then set about trying to match the color of the lights in the scene to the ones in the photos. One nice thing about working in 3D with lighting is that you can actually control what objects a certain light affects. For example, I have a light whose sole purpose is to 'fake' the orange light reflected from the pumpkin onto the stem. Once I finally got all the lights in the scene, this is what it looks like in Maya:

All of the lines and little star shapes represent different types of lights: point lights (throws light in all directions), spot lights (throws a cone of light from one point outward in whatever the aim direction is), and parallel lights (lights whose rays are parallel, much like how we observe direct light from the sun).
After lots of tweaking to the texture maps and adjusting the lighting, I rendered out three different passes: Beauty pass (a fully lit version of the pumpkin), a shadow pass (a pass that represents the cast shadows in a scene), and an ambient occlusion pass (a pass that simulates the exponential decrease in light as two surfaces come in close proximity). After compositing them all together, this in the following result:

In case you can't tell, mine is the orange one.
And, of course, here are all of the color, bump, and specular maps. Click on each image to see the full detail.

