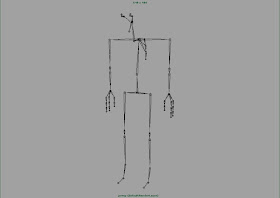
This week in Maya we set about to rig our robots. Essentially, in character rigging, you create a digital skeleton, placing joints around the crucial rotational spots. After your skeleton is complete, you 'bind' parts of your model to the skeleton and then set how much each joint affects the mesh. This is called vertex weighting. In a robot, pretty much every joint affects the parts it is bound to 100%. However, think of an organic character that is one complete mesh. If he moves his left elbow, it's not going to affect the right shoulder at all. Maya does a pretty good job at guessing weights, but it isn't perfect. For ALFRED, however, it was fairly easy since each joint affected it's parts 100%.
 Here is ALFRED's rig skeleton. It's not much to look at, but it now allows him to move according to how he is built. There are even limits programmed into the skeleton so the joints don't move the wrong way or too far.
Next week we will be setting up the rig for Inverse Kinematics. More to come on that later.

No comments:
Post a Comment