This week in the digital world we moved on to converting procedural textures to images that can then be edited in Photoshop and used to create materials like the following:
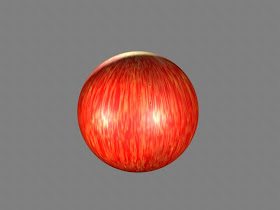
Gala Apple Skin
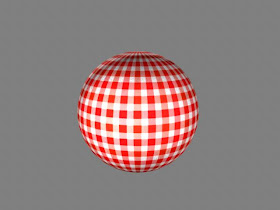
Gingham Picnic Blanket
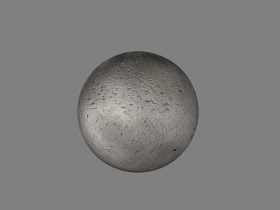
Pitted Concrete
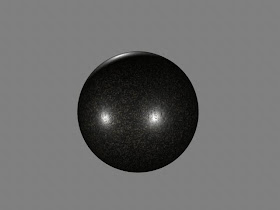
Polished Black Granite
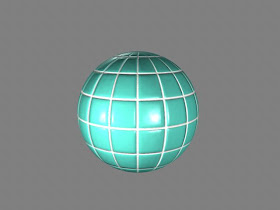
Bathroom Tile
Here is a breakdown of how these work out. In Maya, I created a simple Grid texture like the one below for the color of the tile:
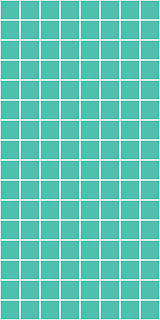
Once I had the dimensions figured out, I could export that to Photoshop and use it to create the bump map for the tile:
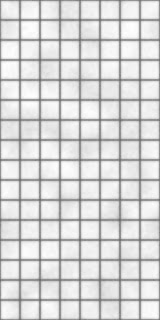
Then, with one more step, I could create the specular map.
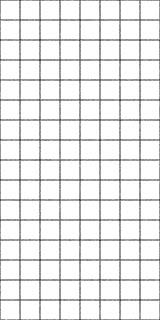
Using a combination of procedural textures and photographic images is mostly what is used in the industry today. Very few shaders are all procedural because it lends itself to looking computer-generated. To get a realistic render, it is always better to use parts of the real world in your work.


how'd you export the texture to photoshop. I've actually been trying to do this the past two days but can't figure it out. I was trying to export a grid to do a nasty bathroom scene, and couldn't figure it out to save my life. if you could clarify a bit on that one, i'd appreciate it. thanks!
ReplyDeleteThis has been so long ago that I can't remember if this is the exact way that I did it in the past, but here is what I got to work in Maya 2012:
ReplyDelete-Create a NURBS sphere, if you're just looking for a simple square texture to export. Maya does this based off of UV coordinates, so if you've already UV mapped your geometry, you can do it from that.
-Apply your shader to the geometry.
-Select the geometry, then shift-select the shader node in the Hypershade work area.
-In the Hypershade window select the command Edit>Convert to File Texture (Maya Software):Options . This will bring up the options box where you can specify the range of UV coordinates to use, the resolution of your output texture map, and your file format.
-Click on Convert and then Maya should create a duplicate of your original shader and should have replaced the procedural shader with a file that will be saved in your SourceImages directory of your project folder. You can then edit that in Photoshop to add your textural details.
Hope that helps out a bit. Here's a page that tells a little more about what the options of the Convert to File menu do: http://www.joelstutz.com/Texturing.html
awesome, thanks man! I saw the convert to file, but am getting down to the wire on my project. Thanks for your help!
ReplyDelete